Honey Walnut Shrimp

This one is out of my comfort zone.

Although I love Asian food, I normally don’t try to cook it because for some weird reason I think it’s really hard and complicated, and it makes me anxious. That’s another story for another day.

Honey Walnut Shrimp is one of those dishes that I alwaaaaays order when it’s on a menu at a Chinese restaurant. So you can only imagine my joy during one night in college (when my sister & I lived together in a tiny apartment), my sister’s boyfriend (now brother-in-law) surprised us by cooking Honey Walnut Shrimp for dinner! I was so amazed and probably BEGGED him a million times to make it over and over and over. And he kept saying “it’s so easy, you can do it!” But I never tried.

…then my heart broke when I found out they were moving to the north east after they got married. Who’s going to cook me some Honey Walnut Shrimp when I want it? More importantly, who’s going to feed me now that they’re both gone?

After pouting for several months, I decided to learn how to make it. I wanted to punch myself in the teeth because it was actually a SUPER simple recipe! Even Helen Keller could make this dish.

While I don’t cook this dish very often, it’s still one of the only Asian dishes I dabble in when I’m craving it.

Here’s how to make it:

INGREDIENTS

  • 2 cups vegetable oil
  • 1/2 cup water
  • 1/2 cup sugar
  • 1/2 cup walnuts
  • 3 tablespoons mayonnaise (I like Duke’s Mayo)
  • 2 teaspoons honey
  • 2 teaspoons condensed milk
  • 1 pound medium shrimp, peeled and deveined (if you buy the frozen ones, just make sure to defrost it first)
  • Kosher salt & freshly cracked black pepper, to taste
  • 2 eggs, beaten
  • 1 cup cornstarch, more or less

EQUIPMENT

  • Small sauce pan
  • Medium or large skillet (work with whichever one you already have)
  • Slotted spoon or tongs

DIRECTIONS

  • Heat the vegetable oil in a medium/large skillet over medium heat.
  • Stir the water & sugar together in a small saucepan. Bring to a boil and stir consistently until slightly thickened, about 3-4 minutes. Add the walnuts and toss to coat. Drain the remaining sugar water and place the walnuts on a parchment paper-lined bowl to dry. Set aside.
  • In a small bowl, whisk together mayo, honey, and condensed milk. Set aside.
  • Season the shrimp with salt and pepper to taste.
  • One at a time, dip the shrimp into the egg, then the cornstarch. Press to coat.
  • At this time, the oil should be hot enough! To test, sprinkle a little bit of water in the oil. If it sizzles, then it’s hot enough.
  • Add the shrimp, about 10 at a time (more or less depending on what size your skillet is), to the skillet and fry. After 2 minutes, stir around the shrimp and fry for an additional 2 minutes, or until golden brown and crispy. Using a slotted spoon or tongs, transfer fried shrimp to a paper towel-lined plate.
  • After all the shrimp is golden and crispy, toss the shrimp and walnuts in the mayo/honey/condensed milk mixture.
  • Best when served immediately.

NOTES

  • I know, I know. Mayo is not the most appetizing ingredient to see in a recipe. I promise, you will barely taste it!
  • Parchment paper is important for the walnuts! When the sugar water dries, the bowl will be really hard to clean if you don’t line it with parchment paper.
  • I eat this shrimp with white rice. Although I’ve never tried, I’m sure it will pair well with fried rice or steamed leafy greens like bok choy or cabbage.

Happy Eating!

DLJ

Tomato, Mozzarella, and Basil Bruschetta

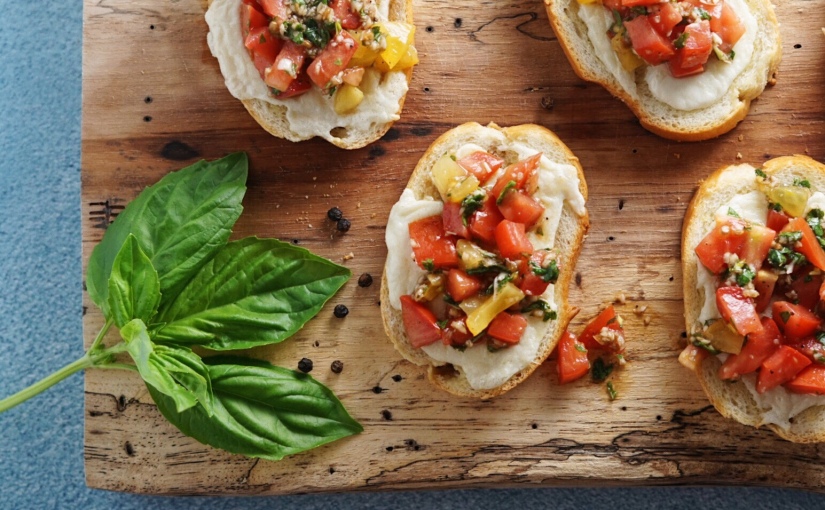
For my first recipe post, I decided to go with this simple tomato, mozzarella and basil bruschetta with balsamic vinaigrette.

I know bruschetta has been around for ages, but I never bothered with it or ordered it from a restaurant before because well ummmm I don’t believe in paying $10 for a small piece of toast with cheese on top. Luckily for me, bruschetta was part of an appetizer course during a company happy hour and after I took my first bite, I finally know why it costs $10. They were the most delightful little bites.

I still refuse to pay $10 for them though.

I went home dreaming about them and when I woke up, I googled a ton of recipes for a tomato, mozzarella, and basil bruschetta. However, I didn’t find THE perfect recipe so just like most of my cooking, I merged a bunch of ingredients here and there and came up with my own recipe for it. It was delicious… and it’s super easy to make!

My husband (who doesn’t typically enjoy appetizer-type foods) loved it. My brother who hates any food that contains tomatoes or any green leaves (aka all vegetables) also loved it. Since then, I’ve been making these little bites for family dinners, watch parties, and just whenever the hell I feel like it.

These are great snacks for when you’re a bit hungry, but don’t want to ruin lunch or when you’re really hungry and want to eat 50 of something without feeling bad about yourself.

My favorite thing about this recipe (and cooking in general) is that you can totally adjust the taste to your preference. If you don’t like too much garlic, then remove a clove. If you don’t like too much balsamic, then reduce the amount, etc. If you don’t like tomatoes, then you probably shouldn’t make this recipe.

Here’s how to make it:

Serving: makes about 8-10 bruschetta, good for 2-3 people, double or triple it if you’re feeding more

INGREDIENTS

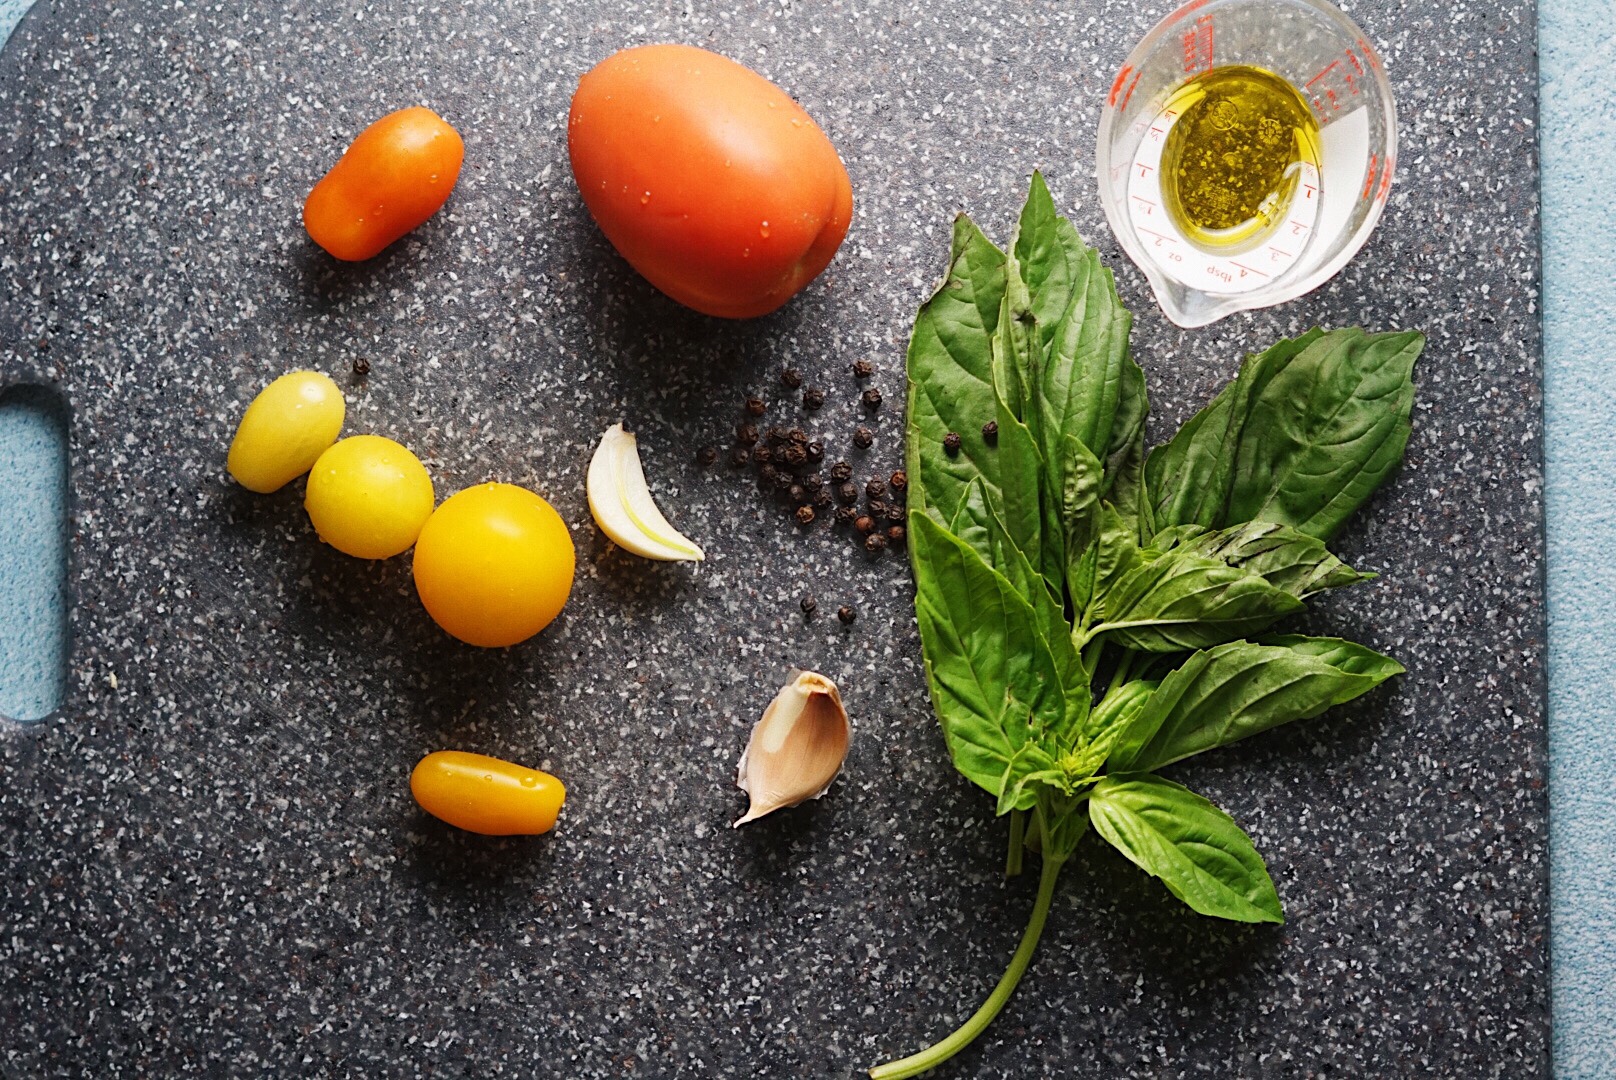
  • 3 cloves garlic
  • 5-6 basil leaves
  • 3 Roma tomatoes, diced
  • 1 tablespoon olive oil, plus additional for brushing baguette slices
  • 2 teaspoons balsamic vinaigrette
  • kosher salt, to taste
  • freshly cracked black pepper, to taste
  • French baguette, cut into 3/4 inch slices
  • 1/2 pound fresh mozzarella, thinly sliced

EQUIPMENT

  • teeny tiny food processor (optional, you don’t need this if you can finely chop and dice the garlic & basil leaves by hand)
  • knife
  • baking sheet
  • basting brush (I use a silicone one)

DIRECTIONS

  1. Preheat oven to 400 degrees Fahrenheit.
  2. Brush baguette slices with olive oil and place on a baking sheet. Top each slice with mozzarella. Bake for 10 minutes to 15 minutes or until bread and cheese are slightly browning.
  3. While impatiently waiting for the baguette in the oven, mince garlic cloves in a food processor, about 30 seconds. Add in the basil leaves and process for about another 20 seconds, or until leaves are finely chopped. (If you don’t have a food processor, no prob, just do it by hand).
  4. Transfer the garlic and basil in a small bowl. Combine with 1 tablespoon olive oil, balsamic vinegar, salt and pepper in a small bowl.
  5. Once the baguettes are done, remove from oven and top each slice with the tomato mixture.
  6. Serve immediately.

NOTES

  • I love garlic so I use 3 of the bigger ones and if they’re tiny, I’ll use about 4, adjust to your own preference.
  • In other recipes, I’ll substitute fresh garlic with the pre-minced garlic from jars, but NOT for this recipe. I prefer fresh garlic.
  • The type of balsamic vinegar you use matters – don’t buy the cheapest one you see, but don’t get the most expensive one either. My fav one is Monari Federzoni Balsamic Vinegar of Modena.
  • ALWAYS use FRESHLY cracked black pepper. It makes all the difference
  • Sometimes, the tomatoes are too juicy and will make the mixture sit on too much liquid – drain it.